With three DIY steps, your driveway will be looking brand new! Be the envy of your neighbors and get your driveway back to tip-top shape.
How to Resurface an Asphalt Driveway: Quick Guide

When we talk about your home's curb appeal, do you think of your driveway? Your driveway can be one of the most prominent features of your home. A great first impression starts with a well-kept driveway, and if yours is in poor condition or has seen better days, it might be time to look at how to resurface an asphalt driveway.
Asphalt is one of the most common driveway surfaces for homeowners. They hold up well to winter weather in colder months, especially freezing and thawing cycles. Plus, asphalt creates a beautiful surface that's easy to maintain and welcoming.
Can I Resurface an Asphalt Driveway?

Many people may assume that resurfacing an asphalt driveway is a big job and a daunting task. But at the same time, driveway resurfacing is a job that most homeowners can DIY. If you’re wondering if you can resurface an asphalt driveway yourself, the answer is yes!
What is asphalt anyway? It’s a mixture of aggregates—durable filling materials—that includes stone, gravel, and sand embedded in a sticky, black, semi-solid form of petroleum material called bitumen. Asphalt is an affordable and practical solution for construction, road paving, parking lots, and walkways. Many commercial driveways use asphalt, and it's a great option for business owners and homeowners alike. With regular asphalt maintenance, it's a beautiful, durable material that can last years.
If you’re hoping to repave your home's asphalt driveway, going the DIY route can help you save money. As long as the basic structural integrity of your driveway is holding, paving it yourself can help you eliminate unsightly potholes, minor cracks, and other issues.
The Benefits of Resurfacing Your Driveway

There are many benefits to repairing and resurfacing your driveway, especially as an alternative to replacing the driveway completely. If you’re considering whether your not to resurface your asphalt driveway, consider the following benefits.
A new asphalt driveway is safer and easier on your vehicle. Large potholes can wreak havoc on your car’s shocks.
Fresh driveways add curb appeal and maintain the aesthetic of your home and yard. Asphalt gives your driveway an updated, well-maintained look.
Asphalt resurfacing will extend the life of your driveway. You'll improve the driveway's structure by repairing cracks and breaks in the pavement.
Resurfacing your driveway helps you avoid over-sealing, which can lead to cracks and “alligatoring” across the surface. When you resurface, you’ll have a chance to fill in potholes and larger blemishes rather than sealing them into the surface and making them harder to repair later.
By resurfacing your driveway, you’ll save both time and money. Because asphalt is forgiving and somewhat flexible, you’ll prevent deep cracking and degradation that can occur over time in un-maintained driveways.
How Often Should You Resurface an Asphalt Driveway?
So when is it time to resurface your driveway? How often should you plan on resurfacing?
Unfortunately, Mother Nature is hard on the asphalt. Although asphalt tends to be more flexible and forgiving than concrete, most driveways will require regular maintenance and updates every 3-5 years.
If your driveway isn't draining properly, or if you live in a very moist climate, water can get into the gravel base. During periods of freezing and subsequent thaw, the asphalt will expand and contract. Eventually, as the driveway ages, you'll see cracks and settling that can lead to potholes.
Another common sign that it’s time to resurface is the appearance of “alligatoring." This pattern indicates that the glaze of a seal coat has cracked, and your driveway can start to have a scale-like pattern. Luckily, this is usually a cosmetic issue that won't directly impact the driveway's structure. Still, in some cases, water can seep into those cracks, leading to deeper issues and degradation. Resurfacing is a great way to extend the lifespan of your driveway.
When is it Time to Resurface?

Newer homeowners may not know when their driveway was last resurfaced, or perhaps you’ve lost track of the last time you performed driveway repair. What are the signs that you might need asphalt driveway resurfacing? Explore the following signs that your driveway needs repair.
Alligator Cracks: A group of thin cracks in the asphalt pavement that resemble alligator scales.
Cracking: A line or split on the surface ranging from superficial, minor imperfections less than ¼ inch wide to large cracks that involve the base.
Unevenness: Sloping areas or bumps in certain places. Unevenness can also be a hazard for visitors, creating a tripping risk.
Potholes or Bird Baths: Potholes in the asphalt are holes usually 1”-2” deep or more. These deep divots can be tough on your car.
Pooling Water: Large puddles of pooling water are caused by inadequate draining systems that eat away at your driveway and seep into the ground beneath it.
Age: With some regular driveway maintenance, asphalt driveways usually last up to 20 years before needing a total replacement. If you can't remember when your driveway was installed or it's beginning to show signs of damage, it's probably time to repair it.
For extensive damage, the best option is likely to call a professional. But the cost of a new driveway is steep. Regular driveway resurfacing will keep it in good condition, help it withstand cold weather, and help you avoid needing professional repairs.
How to Resurface an Asphalt Driveway

If you’re ready to resurface your asphalt driveway, your local Do It Best can help. We carry the tools and supplies you need to tackle your home maintenance projects, including asphalt driveway resurfacing.
The sooner you repair cracks and mitigate damaged areas in your driveway, the longer you'll extend its life and avoid a complete replacement. When cracks are visible, it's time to consider resurfacing.
You may be wondering about seal coating and if you should opt for that instead of resurfacing. Seal coating is a preventative measure that can help restore the color of your asphalt, protect it from the sun and fill in minor imperfections. Basically, it seals the top of the driveway but doesn’t repair any damage.
On the other hand, resurfacing means adding a new layer of asphalt over the existing coat. This typically adds about 1"-2" of asphalt to the driveway surface and can help you correct any structural damage. You'll also want to fill in any holes or cracks before resurfacing.
When you choose an asphalt resurfacing material, you'll need to know the square foot measurement of your driveway so you can purchase enough of the asphalt repair material. You'll also want to be aware of the number of small cracks and minor damage to get enough of the crack filler. The average cost of DIY asphalt replacement depends on the square feet and the extent of repairs needed.
Materials Needed for Resurfacing an Asphalt Driveway
As with most DIY projects, it's best to gather all supplies before you begin the process. Make sure the driveway is clear of debris, and plan to park elsewhere for the next few days to give the driveway time to set. You'll also want to check the weather—you'll need to keep the fresh asphalt dry for at least 72 hours.
Steps to Resurface an Asphalt Driveway
If you’re ready to resurface your asphalt driveway, here are the steps for driveway resurfacing success.
Step 1: Prep the Driveway and Remove Debris

To resurface your driveway successfully, you must begin with a clean, fresh surface. Remove all dirt, debris, algae, grass, and weeds. You may want to use a shovel or edging tool to edge the perimeter of the driveway before you begin.
Loosen the debris in the cracks of your driveway using a broom. Clear the driveway with a leaf blower or utility broom. After removing as much surface dirt as possible, use a garden hose or power washer to rinse the driveway.
Once the driveway appears free of any residue, use a cleaning solution and water to scrub any remaining dirt from the driveway. Wash off any oil spots with a degreaser. Rinse it with water using your pressure washer or hose. Then allow the driveway to completely dry before beginning repairs. Keep in mind that this may take up to 24 hours.
Step 2: Fill in the Thin Cracks in the Asphalt
Now that your driveway is clean and dry, you can start filling in the thin cracks using a crack filler. Squeeze the filler into the crack, then smooth it using a putty knife. Work quickly and spread the crack filler smoothly and evenly over any areas you need to repair.
Step 3: Fill in Larger Cracks and Potholes in the Asphalt
Once you’ve addressed the smaller cracks, you may need to fill in larger cracks and potholes using pothole patch material. Follow the instructions on the material. Typically you will need to pour it into the pothole, spreading it flat and smooth using a putty knife or trowel.
Once you've filled in the larger cracks and potholes, use a tamper to pound the patch material to ensure the surface is flat. Ensure the entire driveway is smooth and level before continuing to resurface it.
Step 4: Resurface the Entire Driveway

Follow the instructions on your container of resurfacing material. Typically, you will need to mix the material before you begin, using a drill and mixing tool or by hand with a mixing tool or stick. Once mixed, you will use a paintbrush—preferably a 3" wide brush—to apply the asphalt resurfacer along the driveway's edge.
Once you’ve surrounded the perimeter, you’ll pour the resurfacer in a line across the width of the driveway. Using the driveway coater brush, you'll spread the product evenly across the driveway, moving in a continuous back-and-forth pattern. Working with the wet edge at the end of each path, turn, stop, and then restart going the opposite direction.
Continue to level everything out and maintain the shape and smoothness of the surface as you go. Don’t touch or step on the resurfacer once it’s applied.
Step 5: Cure and Seal the New Surface

Driveway resurfacer usually needs 3-5 days to cure. Keeping the driveway completely dry and clear during this time is ideal. Avoid walking on the surface for at least 24 hours, but staying off the asphalt for about three days is best.
Don't drive on your new asphalt for at least three days (preferably five) to give the driveway time to cure and set. Once the driveway has been properly set, you can use it as usual.
After six months, pour an asphalt sealant over the surface of your driveway. The sealant will protect your new asphalt, ensuring it holds up to weather and more. You'll likely need to have your driveway resealed every 2-3 years to prevent cracks and keep your driveway looking fresh. With proper care, your asphalt driveway will last many years.
Some Tips on Driveway Resurfacing
Here are some tips to help make the driveway resurfacing process easier.
Once the whole driveway is coated, stake off the driveway with string or tape to keep everyone off the surface.
Make sure no rain is in the forecast and don’t drive or walk on the asphalt for at least 72 hours.
Be sure to read the manufacturer’s directions and recommendations on the asphalt resurfacer spread rate and number of coats.
It's helpful to wear old shoes and clothing while resurfacing your driveway. Choose items you won't mind throwing away afterward.
Work on a cooler day. It will slow the dry time and make sure you have more time to spread the material smoothly. Early summer is the best season but watch for a rain-free week.
If your asphalt is showing signs of significant settling or age, it may be best to contact a local professional for assessment before you attempt to DIY.
- If you're wondering how to give your driveway a facelift, asphalt resurfacing is a project you can tackle on a weekend. It can improve the look and comfort of your home. When you resurface your driveway yourself, you'll extend the life of your driveway and avoid the cost of a full replacement.
- Do It Best has all the supplies you need for driveway resurfacing and any other home projects. Stop by our stores, or shop online today!
Related Articles
How To Install A Wooden Privacy Fence
Wondering how to install a wooden privacy fence? Here’s what you need to know to safely install a privacy fence. Find everything you need to get started.
Learn more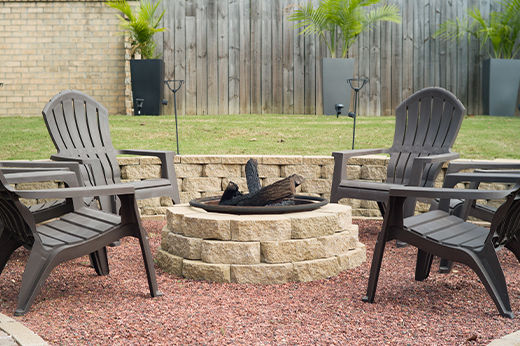
How to Build a Fire Pit
A simple and affordable outdoor DIY project with a step-by-step guide
Learn more
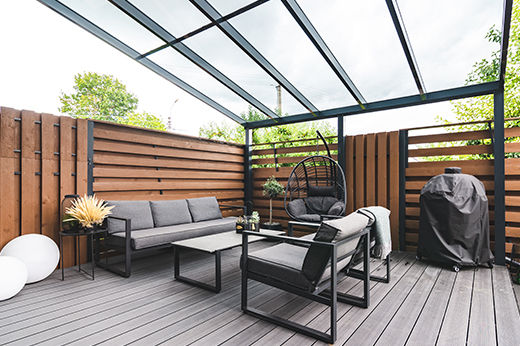
Backyard Privacy Ideas
Enjoy some alone time in the comfort of your own backyard with these simple tips
Learn more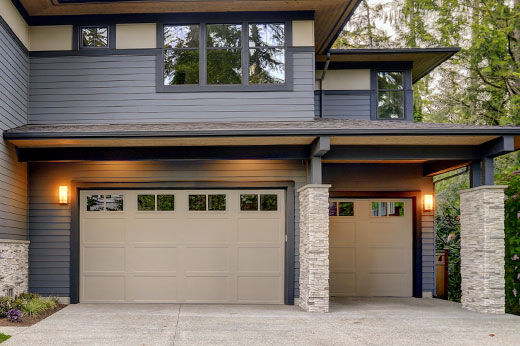
Garage Door Maintenance to Keep It in Tip-top Shape
Six easy and cost-effective ways to keep your garage safe and prevent damage
Learn more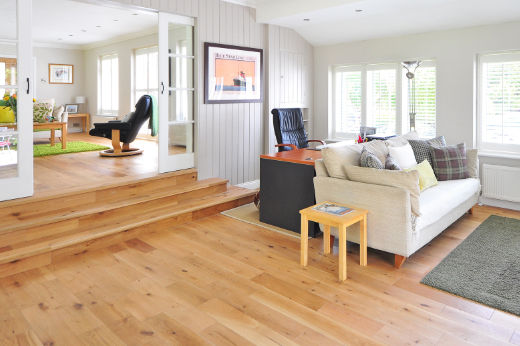
How to Install Laminate Flooring
Five easy DIY steps to upgrade your home to a beautiful space
Learn more